How to dress an obi
Ribbon-musubi of Heko-obi

Heko-obi is softer than Hanhaba-obi and anyone can tie it easily in the manner of Ribbon-musubi.
However, there is a variety of materials for Heko-obi, flexible, soft, and so on.
After wearing Yukata, it looks different depending on the type o fHeko-obi. Let's practice in advance.
The Ribbon-musubi shown in the photo is made with a flexible Obi. With a soft one, it waves lambently.
As well as a Ribbon-musubi, you can tie Bunko-musubi for different style.
1. Place the centre of the obi in front, cross on the back, pull tightly, bring both ends in front.
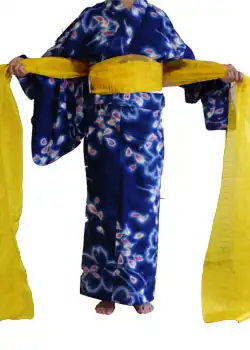
2. Tie it once in front. Again, pull tightly not to come loose.
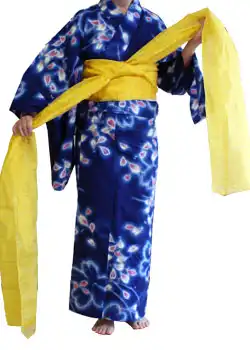
3. Make a bowknot. First, make a loop with the end of right side.
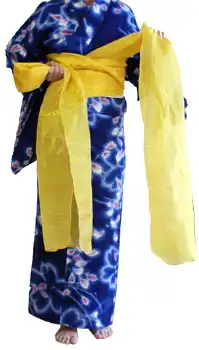
4. Take down the looped end to the left, put the left side obi on it.
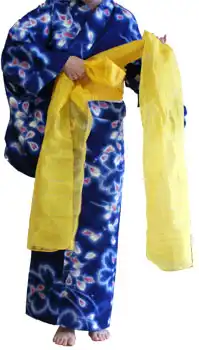
5. Pass the obi on top through the knot.
With a knot tied as thin as possible, you can make a floaty cute ribbon.
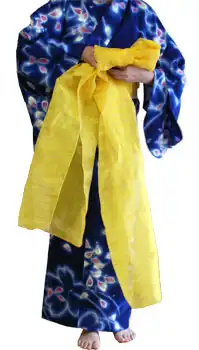
6. Tie the obi tight to prevent the knot from coming loose. Adjust the size of both loops to be balanced.

7. Rotate the obi clockwise.
Straighten the front.
If you are not happy with the front side crumpled, use an Obi-ita to make it neat.
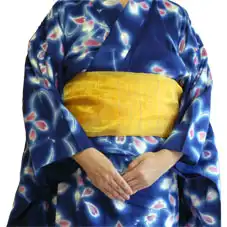
8. After adjusting the size of both loops, if the length of the ends is different, pass the longer one from below the ribbon upwards and cover the knot flowingly.

